Getting Started with Screencasts
Screencasts are a great way to start making content. The great thing is that they have a low barrier to entry. All you need is a computer to get started.
For the past couple of months, I’ve learned a ton about recording screencasts through my work with EmberMap. I grossly underestimated the amount of setup and preparation that goes into making a 5-minute video.
In this post, I want to share the steps I use to prepare for each video and the feedback I received on my first video.
Prepping for Recording
Before I start recording, I go through a few steps to make sure my screencast will have the highest quality possible.
Adjust Your Screen Resolution
You want to make sure you’re using a screen resolution that will look good on the most amount of devices. The general advice here is to use a 1280x720 (720p) resolution. For best results, use HiDPI mode when available.
To enable HiDPI on Mac, I use the RDM tool. This works out of the box on retina Macs. You can turn on HiDPI mode on external monitors or non-retina Macs by enabling a system defaults setting.
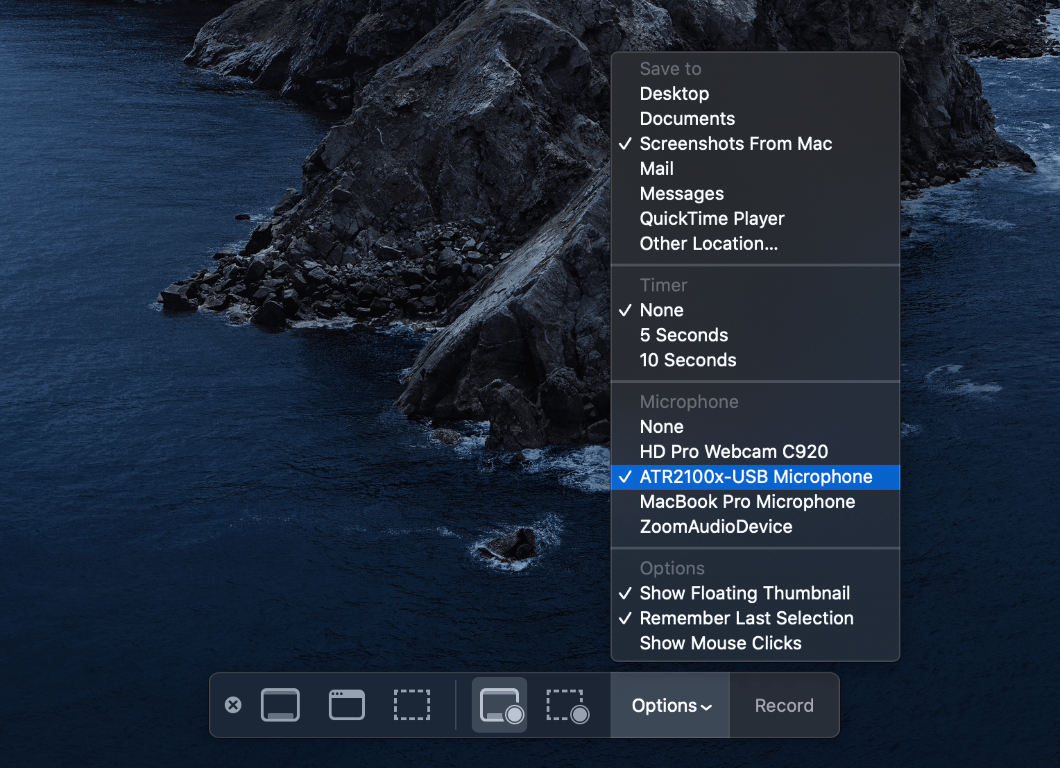
Sound & Audio
You'll want to use a dedicated mic (if you have one) to record your audio. A good mic makes all the difference. Check out Matt Stauffer's guide for a detailed breakdown on picking the right mic.
Make sure you test your audio levels. Some mics will allow you to connect headphones directly into them to hear how you sound. Otherwise, on a Mac, you can test the sound input by going to System Preferences > Sound > Input. From there, select your input source and then talk as you would while recording. Adjust the "input volume" slider volume so that you sound loud enough but without distortion.
Mic placement and proper mic technique is the next thing you want to take into account. I'm no audio expert, but this article on mic technique was an excellent resource for me.
Screen Recording
I use the screen recorder built into QuickTime on Mac. My screencasts aren't long, and it gets the job done. If you want to use something a bit more professional, you can try out ScreenFlow. Either route you go, you'll want to make sure you're using the correct audio input before starting your recording.
Code Editor
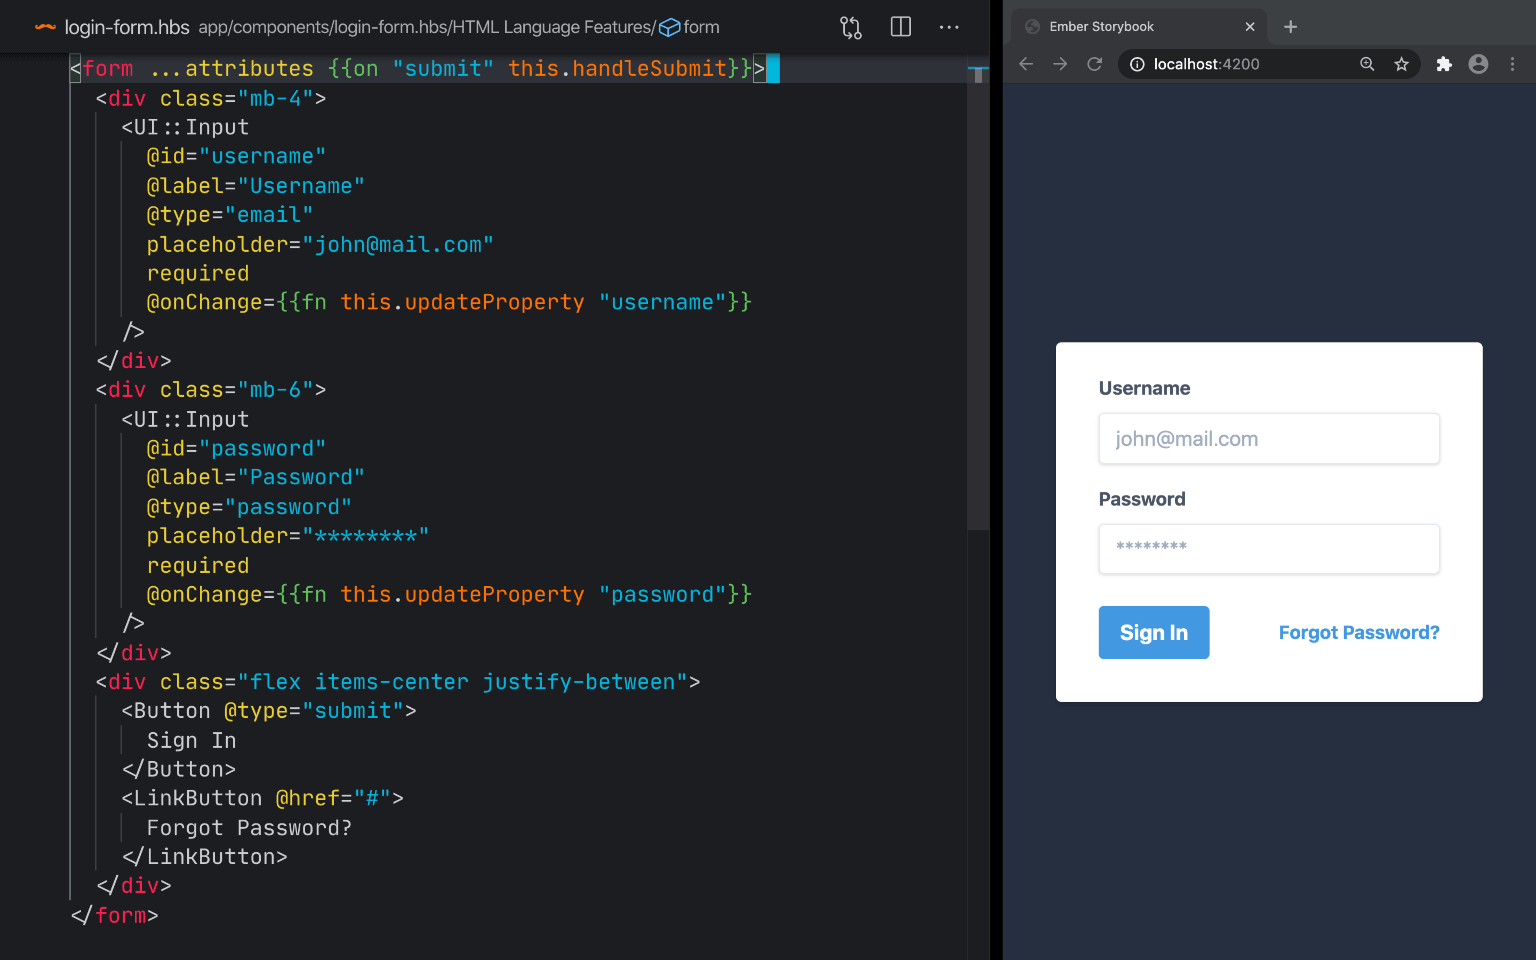
Your code is the star of the show. Make sure it looks the part.
- Use a color theme that has good contrast. The default light/dark themes will get the job done (most of the time).
- Adjust your font size. Chances are your normal font size is too small. You’ll know it’s a good size when you can view the code from the screen recording on a small screen like a phone.
- Remove distractions from your editor. Hide the minimap and any other extensions that take up space significant space. Use zen mode if your editor has it to clean up distractions for you.
My Preferred Setup
I prefer to use full-screen mode on my Mac. That way, I can make sure there are no distractions in the recording from files on my desktop or notifications in the menu bar. Speaking of notifications, turn on "Do Not Disturb" to ensure no distractions come through.
Start Recording
I can list tips and best practices for what to say and how to talk while you're recording, but the best way to get started is to jump right in. Honestly, hit record and start talking. Start with a dry run. You're going to make a ton of mistakes your first time, but that's okay. You'll improve over time. Playback that initial recording and pinpoint the things you need to improve on for the next run.
Shooting for the Edit
A friend of mine taught me about "shooting for the edit". The technique is used in film production and makes the post-production process much more efficient. Plan out the shots you need ahead of time and keep the edit in mind as you're shooting. We can apply the same techniques to making screencasts.
Your screencast doesn't have to be a perfect shot of you talking and coding. You can make mistakes along the way. If you mess up, backtrack a few steps and restart from there. When you're editing, you can remove the bit where you messed up, and the final product will look like one smooth shot. It takes a while to get used to it, and it's something that I still struggle with myself. I used to restart my recordings from the beginning every time I felt like I messed up. Rest assured that in the final product, no one will even notice you messed up—that's the power of editing.
Closing Feedback
I want to leave you with constructive feedback that I received from my first screencast. I reference these points every so often to ensure I'm creating the best possible content.
- Be conversational. Talk as if you're sitting down with a friend and walking them through what you're doing.
- Transition between topics. Make sure your audience knows when you're down with the current step and then lead them into the next one.
- Explain your actions even if it's brief. For example, when stopping a server or creating a new file, state that step in your video.
- Narrate as you type. It slows down your pace and allows your viewer to closely absorb what you're doing.
- Always run your commands. You can speed them up in post production.
- Avoid fidgeting. Don't move your mouse or cursor around too much. Watching it fly across the screen is distracting.
- Learn to appreciate long pauses. Take the time you need to gather your thoughts, especially if you're heading into a new subject. These pauses are easy to remove during editing.
- End the video with a brief recap. Ask yourself, "what did we just accomplish?"
- Stick with your pronouns. Use either "we"/"us" (plural personal) or "you" (second person). I prefer to use "we"/"us" because it sounds more welcoming.
There you have it! I hope you enjoyed these tips on getting started with screencasts.